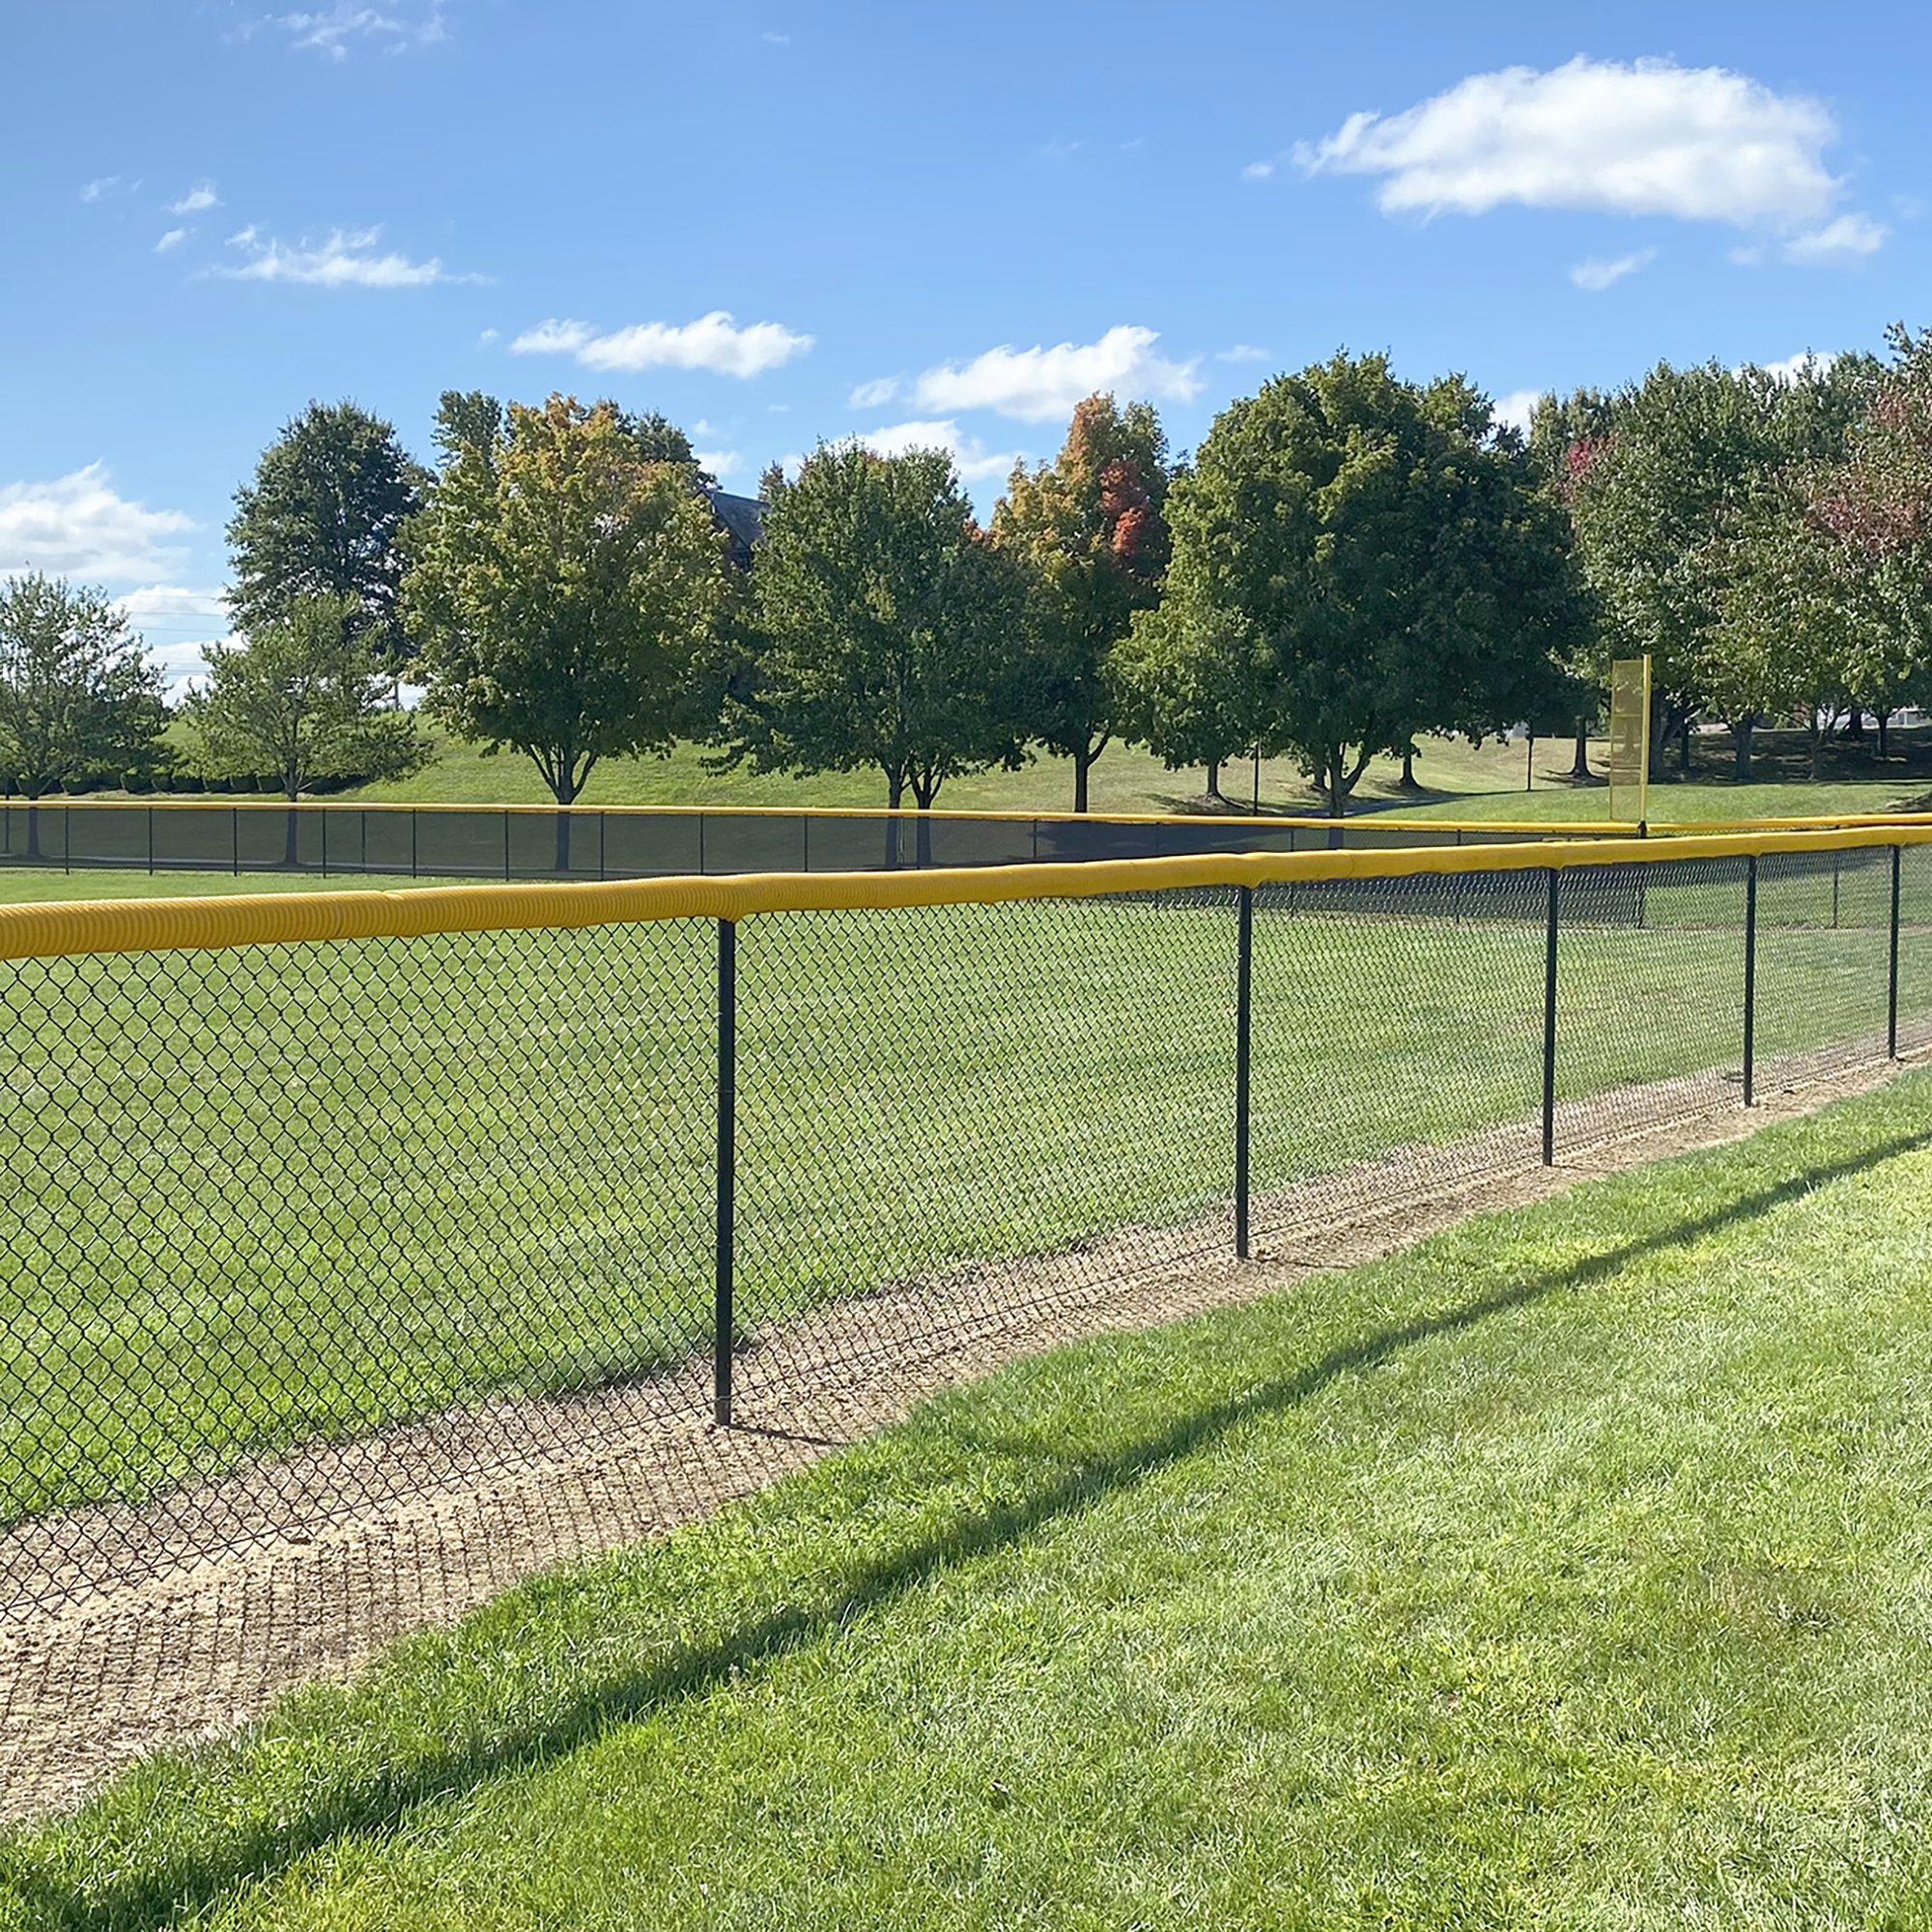
How To Install A Baseball Fence Topper
Installing baseball fence cap can take a long time without the proper tools and knowledge. Fortunately, it's a fairly simple process that should not take long at all, allowing more installations of the fence cap with fewer people. There are multiple types of baseball fence toppers available. The traditional Poly-Cap, Fence Guard, and Safety Top Cap. They all install slightly differently but should take roughly the same amount of time.
Poly-Cap Installation
Remember to collect these tools, which will ease the installation process:
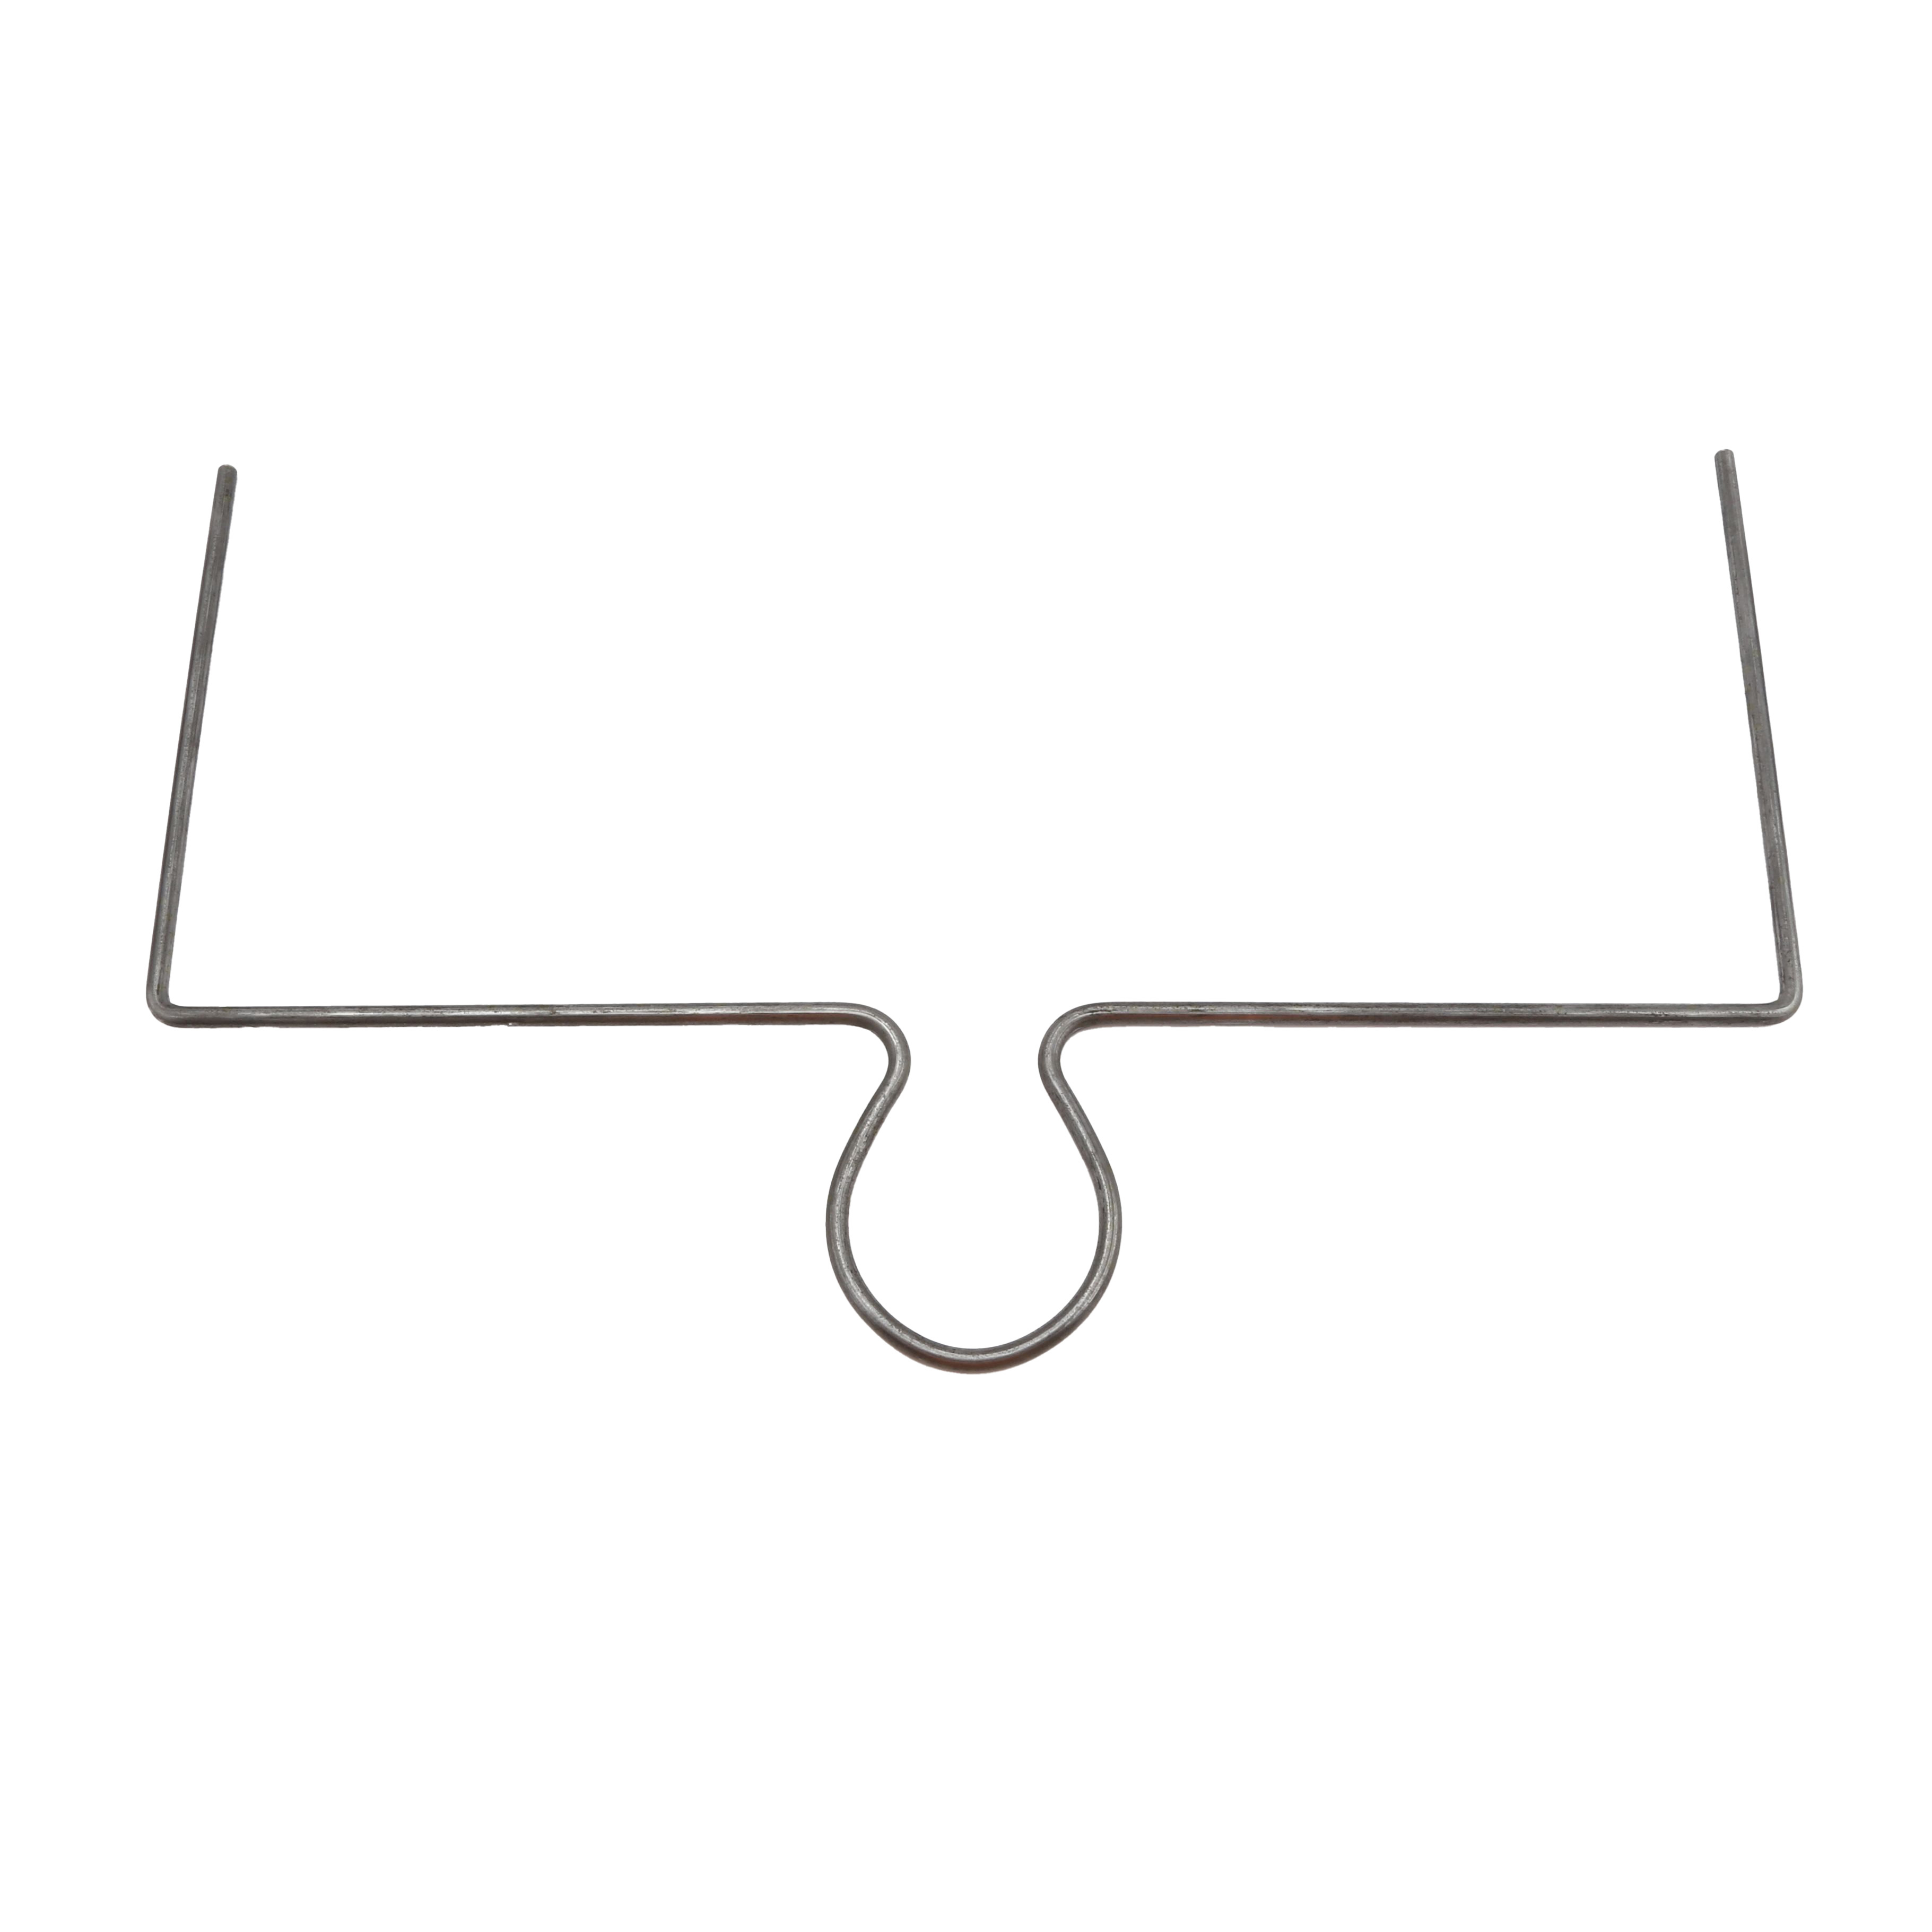
- Baseball Fence Poly Cap Installer Tool
- Baseball Fence Poly Cap Zipper Installation Tool
- Zip Ties *if necessary
These ties are UV resistant and weather-treated, which means they will out last any generic zip tie. Having two to three people available will also make the installation process much easier. Poly-cap fence topper relies on tension to hold it in place.
Step 1: Lay out the fence topper alongside the chain link fence it will be applied to.
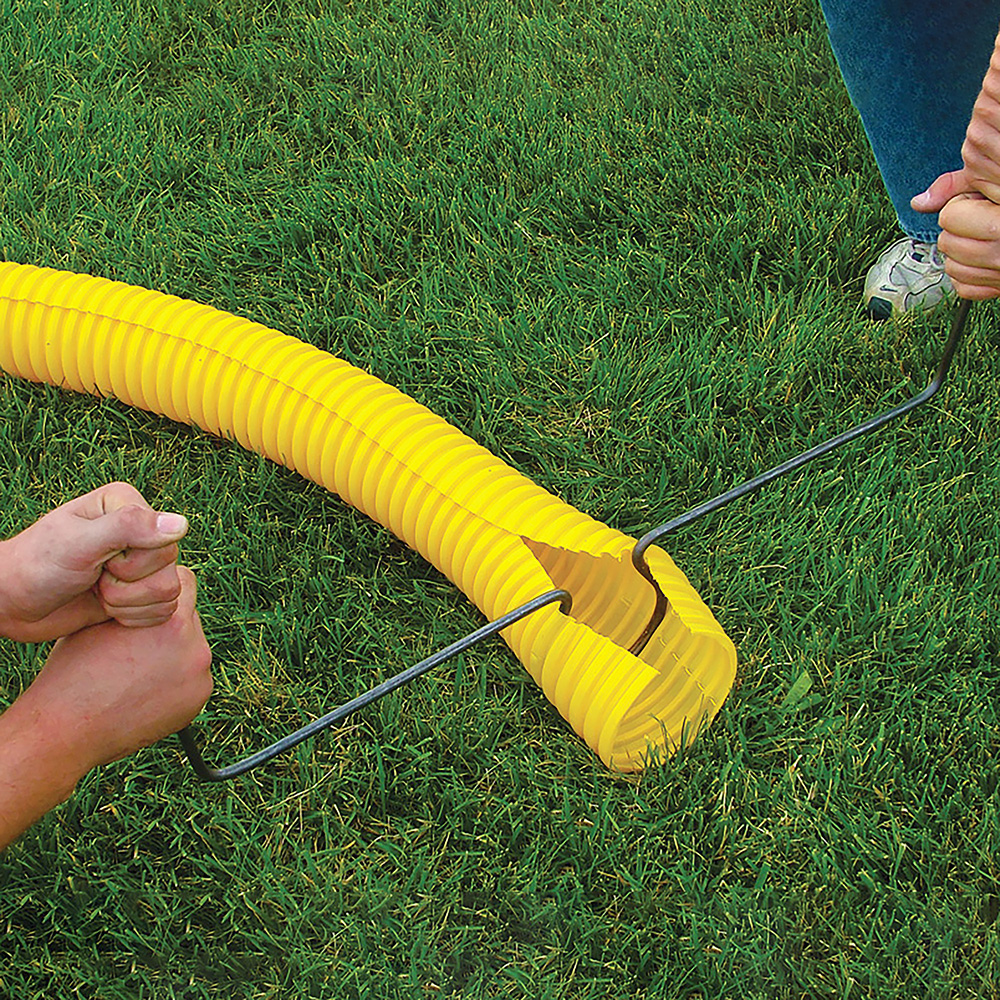
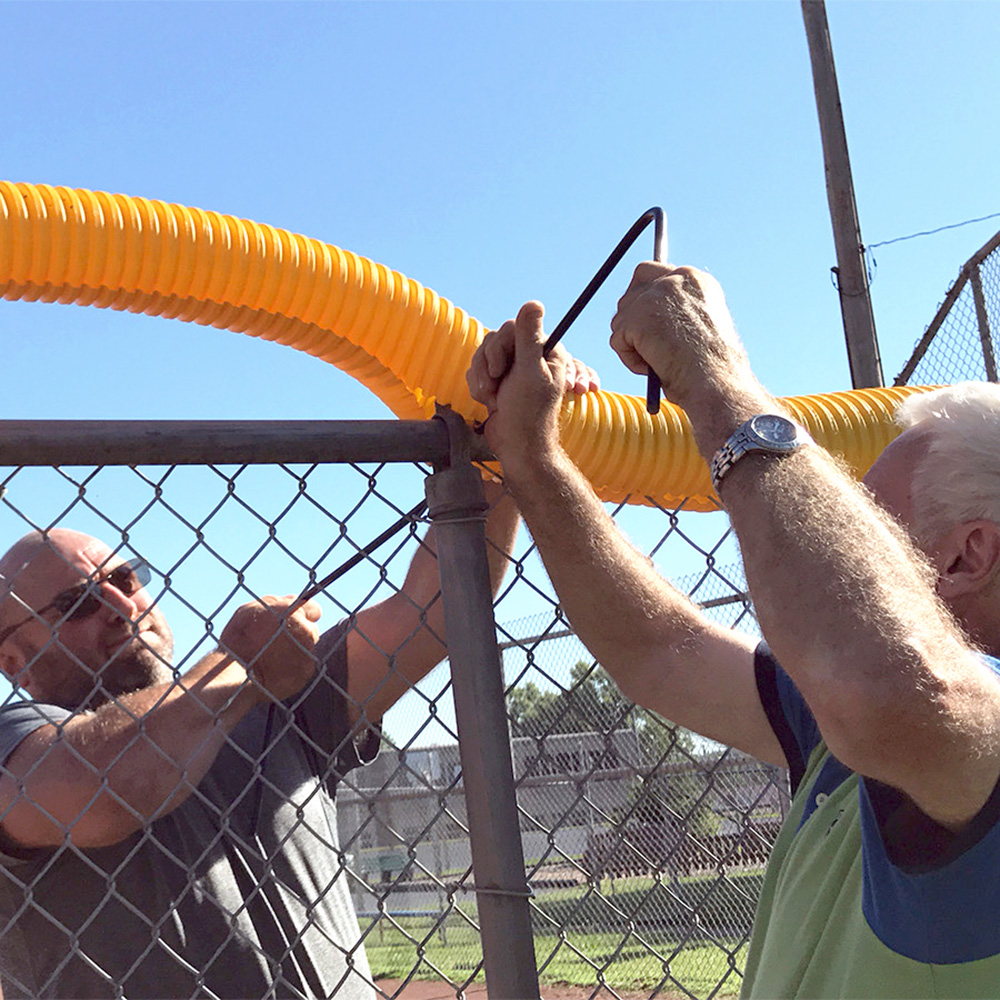
Step 2: With three people, insert the Two-person Install Tool into the pre-cut poly cap fence topper. This will hold the fence topper open as you guide it along the top of the fence.
Step 3: With two people insert the Zipper Installation Tool into the opening of the poly cap fence topper.
Step 4: With the tools still inserted, lift the topper and rest it on the top of the fence rail. As this is happening, the person holding the tool will guide the opening of the fence topper over the top rail. Another person will follow and push the topper down.
Step 5: Secure with the zip ties if needed and cut off the excess fence topper if needed.
Fence Guard and Safety Top Cap Installation
Remember to collect these tools, which will ease the installation process:
The ties are needed because, unlike the poly-cap, the fence guard and safety top cap do not rely on tension to hold it in place. They need ties to hold the bottoms together. The ties come in a variety of colors so they will be able to match the color of the topper being installed. Having at least two people will speed up and make the installation process a lot smoother.
Step 1: Lay out the fence topper alongside the chain link fence it will be applied to.
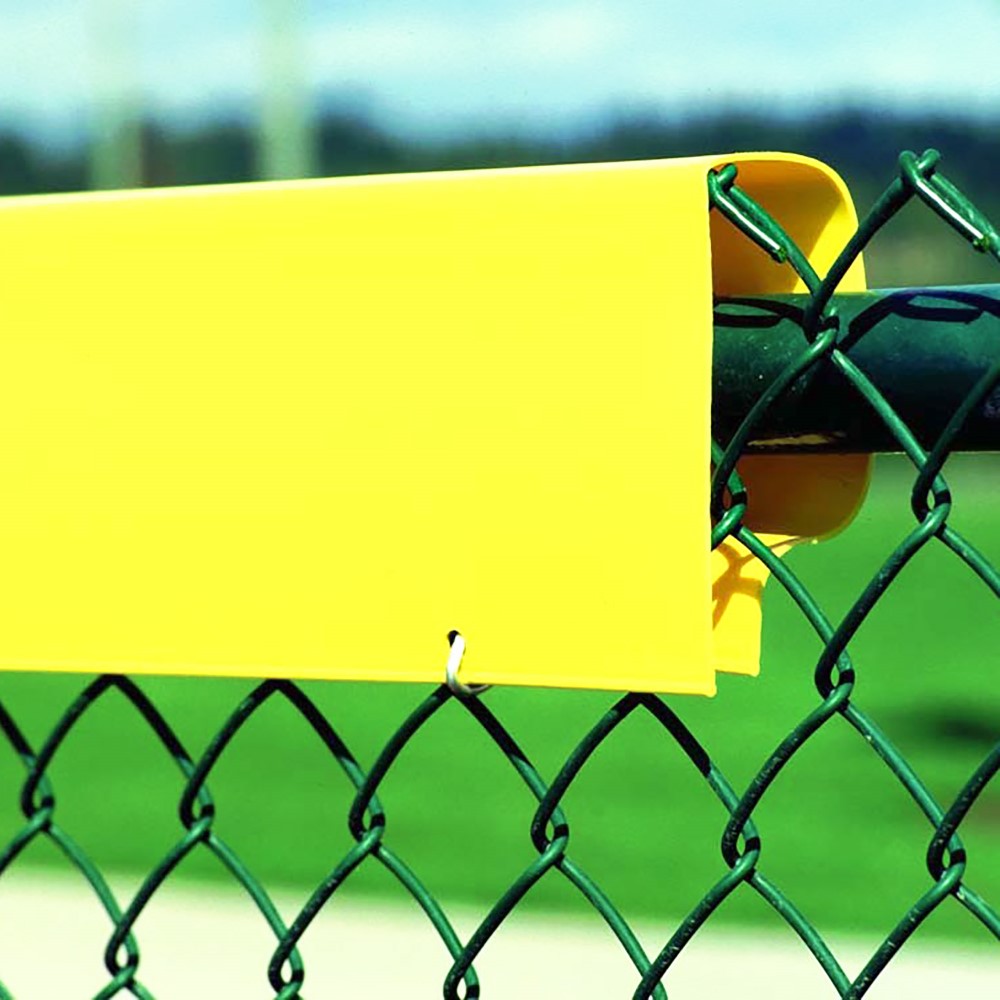
Step 2: One or more people slide the fence topper over the top rail of the fence. *Remember, if installing the D-shaped Safety Top Cap, the rounded side should be placed along the side of the fence with the rails, while the flat side will be flush with the chain link mesh.
Step 3: As the fence topper is being placed, another person should be securing it to the fence using the plastic ties. Place the ties through the pre-drilled holes and through the chain link mesh.
Step 4: Cut off the excess as needed.
Installing a baseball fence topper on a chain link fence is not nearly as difficult as a lot of people think it is. All it takes is a couple of people and the right tools. At Baseball Fence Topper, we are here to help. Please contact us if you have any questions or would like to place an order. Our friendly sales representatives are glad to help!
Contact Us